Enabling the Nadir Logo will remove or hide the tripod or support structure visible in the Nadir (bottom) area of the virtual tour images, creating a more seamless and immersive viewing experience.
Select Virtual Tours -> List Tours from the side menu and click the Edit button on the desired tour.

Go to tab Contents / Nadir Logo.
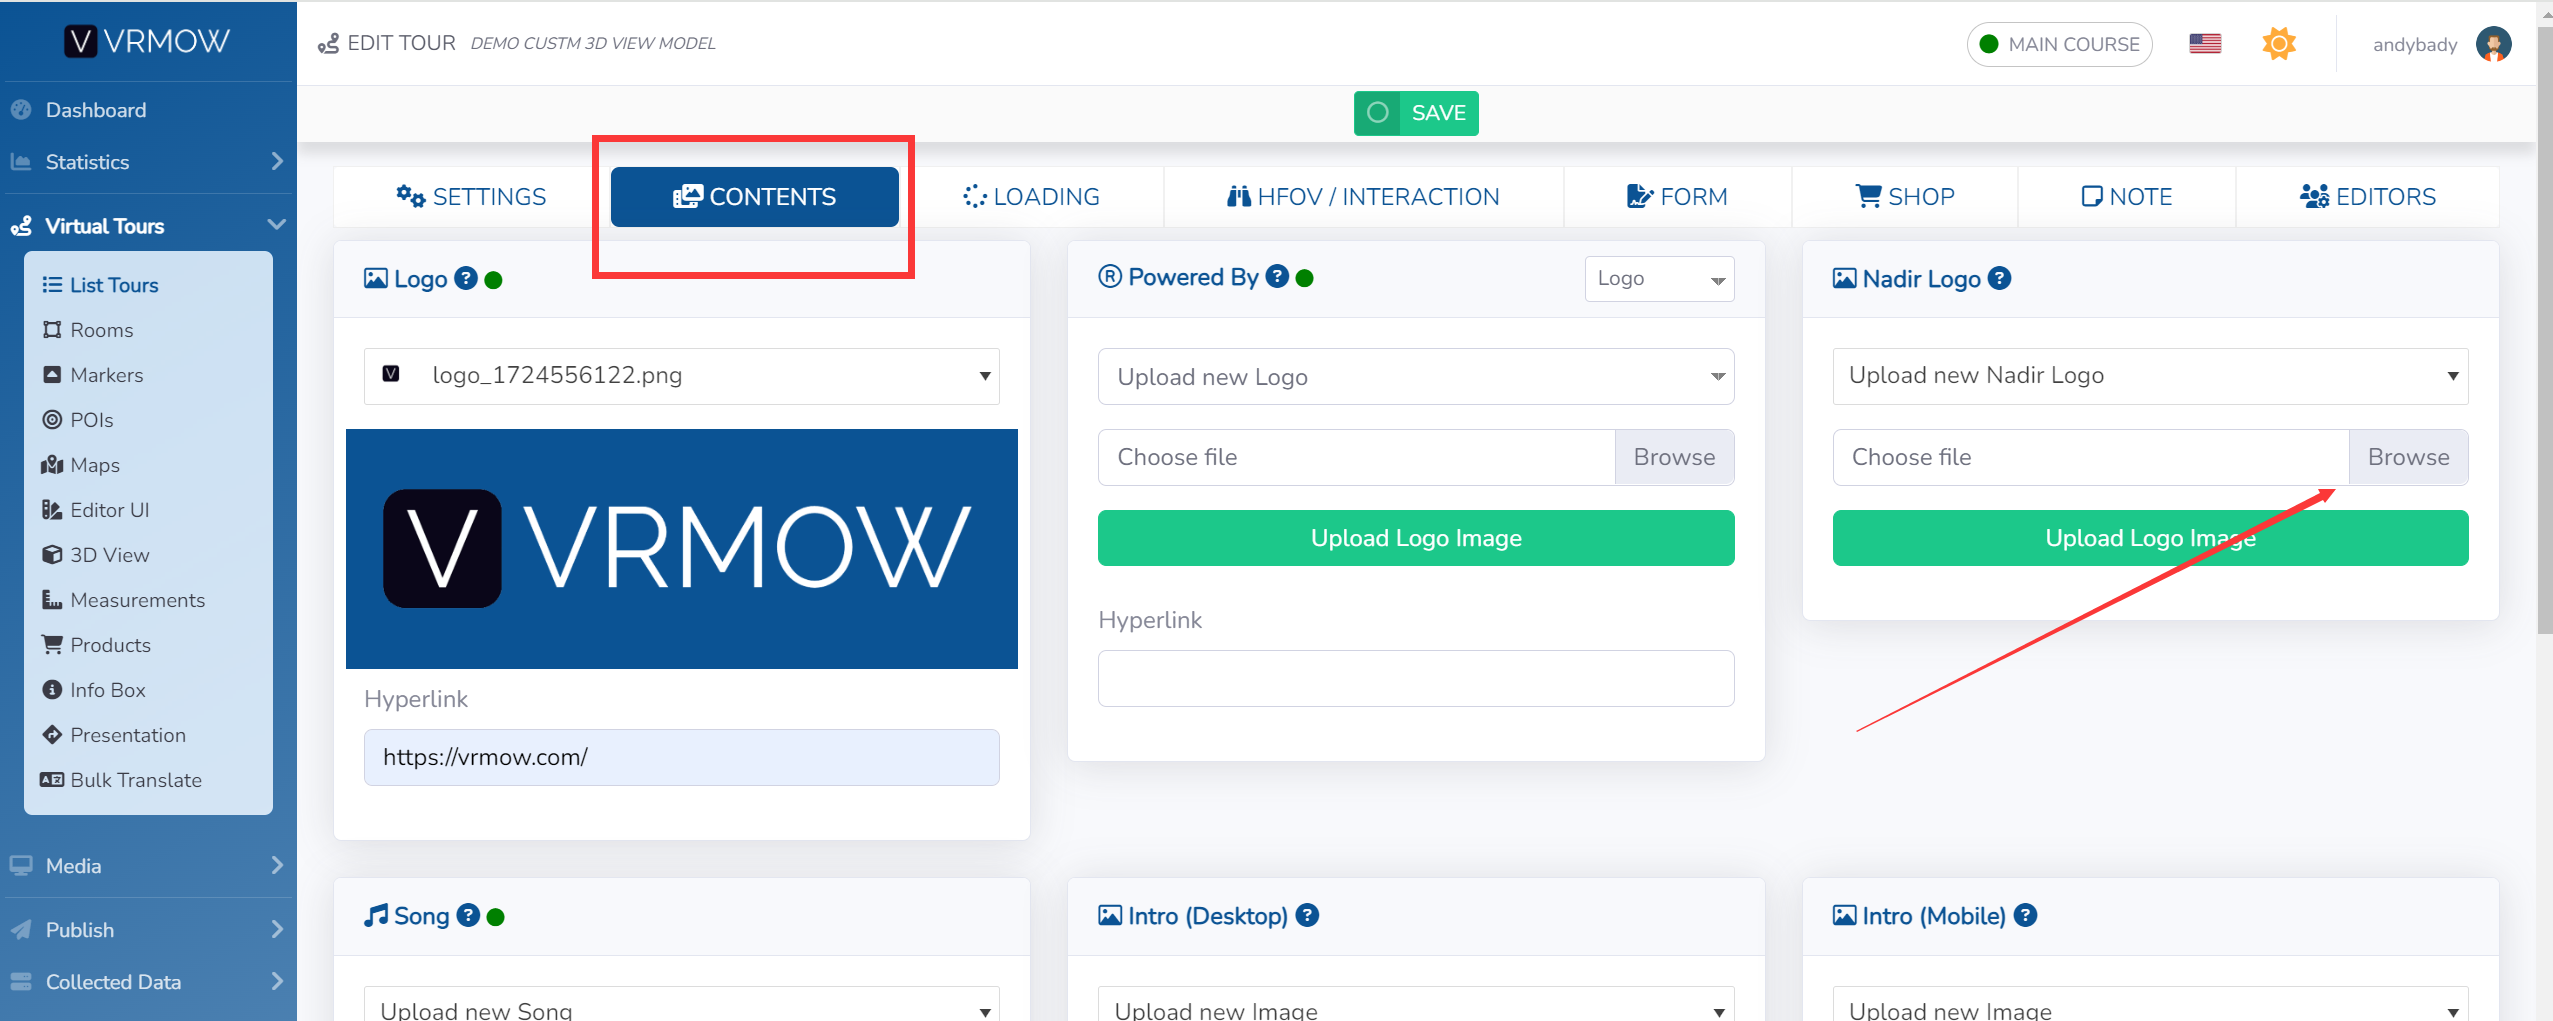
Upload a file with the .png or .jpg extension that will cover the Tripod.
Click Save on top of the page.
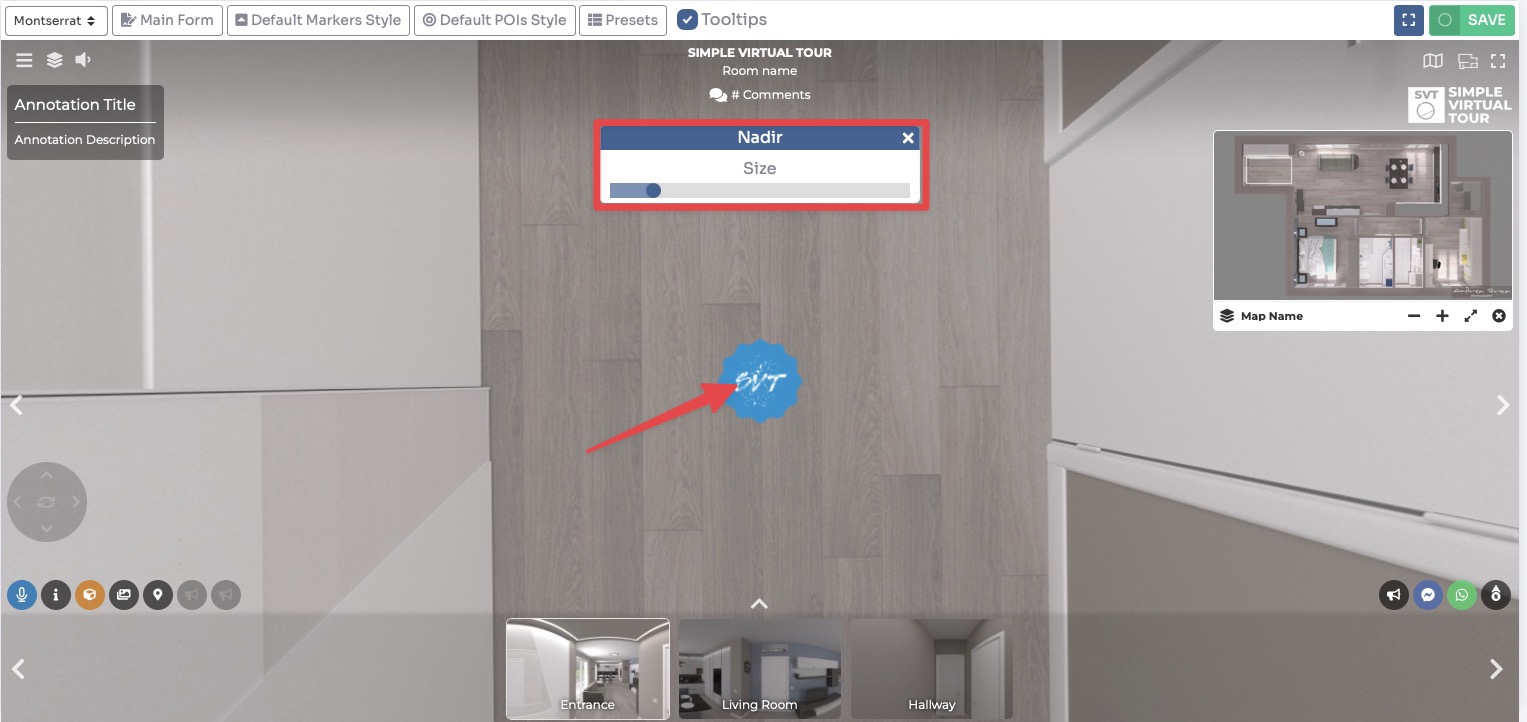
You can adjust the size of the Nadir Logo inside the Editor UI, by look down the view and click on the logo.
You can also decide whether or not to show the Nadir logo in a particular room.
Select Virtual Tours -> Rooms from the side menu and click the Edit button on the desired room.

Go to tab Preview and enabling or not the flag on "Show Nadir logo".
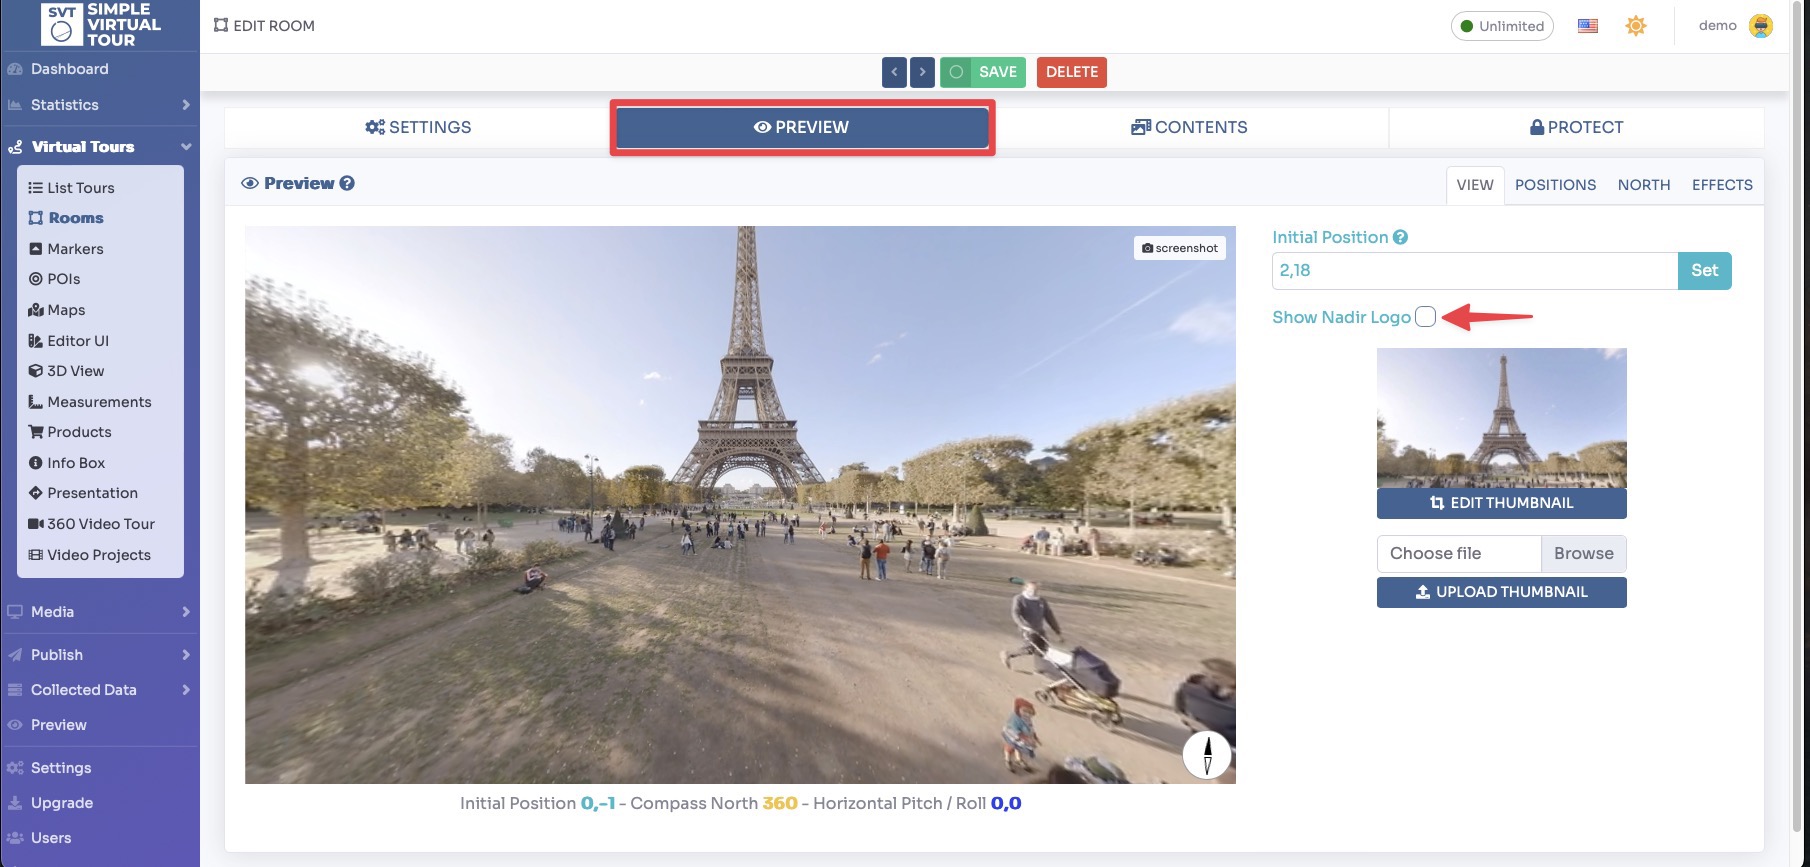
Click Save on top of the page.