From real estate listings to museums, even your favorite places to spend a vacation, virtual tours are everywhere these days. They’re a fun, immersed way to explore spaces from a distance, and it’s not as complicated as you might think to create one. Whether you’ve ever been curious about creating your very own virtual tour, this guide will walk you through the steps in an easy, beginner-friendly way.
Step 1: Determine Your Purpose and Audience
First-things-first kind of deal: decide what’s the purpose of your virtual tour. Are you a realtor showing off homes? A business owner taking viewers on a tour of your restaurant or store? Maybe you simply want to show your favorite spots around town. Knowing the purpose of your tour helps you guide how you’ll approach the creation process. Think about who is going to be watching too-what do they care about, and what would make it a more of an experience for them?
Step 2: Ready Your Gear
You don’t actually need fancy gear to create a virtual tour, but having some basic gear does come in handy. Here’s what you’re going to need:
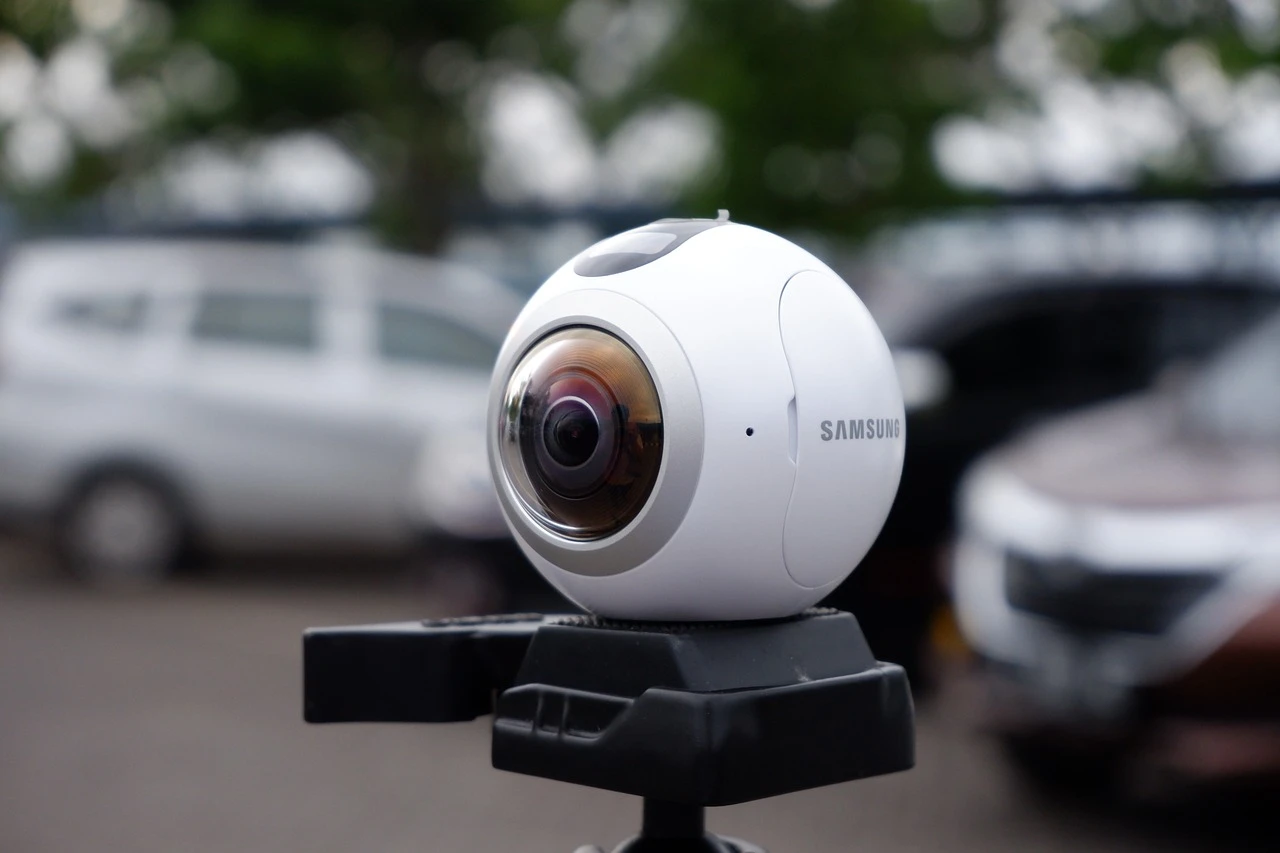
A Camera: Ideally, you would like to use a 360-degree camera to achieve the most interactive experience. If not, then your smartphone is a great alternative. Just remember to shoot wide and lots of angles.
A Triproad: For the sake of having steady shots, on a professional tour, you will need a tripod. If you are using a phone, get a phone-compatible tripod.
Editing Software:** Basically, depending on how complex your tour is, you will have to use some sort of editing tool to stitch together images or videos. Some popular ones are Vrmow, and even free ones like Google Street View.
Step 3: Route and Shot Planning
Like any other kind of video project, there is some forethought that needs to be put in prior to creating a virtual tour. Do a walk-through of the space and consider what particular areas you’d like to feature. You want to shoot all the key spaces, and sometimes it’s the details which count just as much as the overall space. For example, if you were to build a tour for a house, shoot rooms such as the kitchen, living room, bedrooms, and outdoor spaces.
Decide the path you want to guide your audience along. For example, if you’re providing a tour of a home, you could start outside and walk in through an entrance, then from room to room. In contrast, if you were doing a virtual tour of a museum or art gallery, you could do it in the order that guests would flow through an exhibit. Imagine you’re actually going to be hosting an in-person tour of the space-whats are you actually going to take people through?
Capture Your Footage Step 4! Now is your turn to enjoy filming or photographing the space! In case you are working with a 360-degree camera, set it in the center of the room to capture the complete space. You can use regular cameras or smartphones to shoot some angles from different perspectives so that you end up with wide views. Also, keep in mind to keep the camera level and not to rush. A jogging tour through the shots results in a shaky footage, and nobody gets a kick out of dizzy feelings on a virtual tour.
If you are adding narration or music onto your film, record the audio in a separate activity from the video capture. At minimum, make sure the environment is quiet when capturing the footage.
Step 5: how to create a virtual tour?
You can use Vrmow virtual tour software, which has a free trial plan. 360 virtual tour software immerses your audience in every angle of your product, making it ideal for real estate, 3D designers, museums, education, and more.


